FAQ
What are the benefits of adding a rooftop patio?
 Can double the life expectancy of the roofing membrane by protecting it from sun exposure & elements
 Gain “free” square footage in otherwise unusable space
 Increase rental revenue by offering a beautiful, peaceful, easily accessible outdoor space for tenants and guests
 Encourage work/life balance through creative rooftop spaces like restaurants & bars, dog parks, playgrounds and outdoor work areas
 Reduce energy bills by gaining R-value
 Create an incredible entertaining area where friends and family will always want to be
Why do I need to use pedestals?
 Simplicity, speed and ease of installation
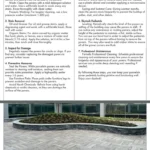
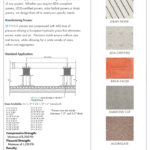
 Aesthetics - compatible with concrete pavers, Ipe deck tiles, porcelain tiles and framed decks with wood or composite decking
 Leveling - create a perfectly level patio on roofs with up to a 7% slope
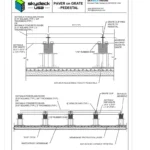
 Maintain Waterproof Integrity of the roof by resting on top of roofing membrane without puncturing it
 Proper Drainage - SkyJack pedestals create unifrom 3/16" spacing between pavers to allow water to flow unimpeded to the drains below
 Prevent Damage to the Roofing System by elevating abrasive concrete or wood deck materials off the roof
 Roofing Warranties - skyjack pedestals can accommodate the specific warranty requirements of any roofing membrane manufacturer
 Service and Repair - Tiles on pedestals can be quickly and easily removed to access the roof below for service, inspection and leak repair
 Increased Life Expectancy of Roofing Membrane - Pedestal patios protect the roof from UV rays, Hail and Wind which age and damage the roof
What are the differences between concrete pavers, deck tiles and porcelain tiles for a rooftop patio?
Pressed Concrete Pavers Pros – Long lasting, very durable, low-maintenance, attractive, affordable, withstand freeze/thaw cycles very well, higher wind uplift resistance.
 Cons – Heavy weight, will likely need a contractor for installation
 Pros – Low-maintenance, attractive, affordable
 Cons – Heavy weight, will likely need a contractor for installation, shorter life expectancy in freeze/thaw zones
 Pros – Light weight, low-maintenance, attractive, mid-level pricing, medium difficulty to install without a contractor
 Cons – Susceptible to cracking, wind uplift can be an issue
 Pros – Light weight, long-lasting, durable, attractive, easy to install with or without a contractor
 Cons – Some annual maintenance, higher price point, wind uplift can be an issue
How do I know how much weight my roof can handle for my rooftop patio?
 An engineer or architect should be able to determine the weight load capacity of your rooftop area. Do not add a rooftop patio to your roof without consulting a professional to ensure that your roof can handle the additional weight load.
How do I determine what height pedestals I need?
 Determining pedestal heights can be a bit tricky but Skydeck USA provides estimation assistance.
 Once the roof area with waterproofing membrane is complete, measure the height between the top of the roofing membrane and the bottom of the door threshold (where you’d like the top of the flooring to line up at the doorway). Subtract the thickness of your floor tile from that measurement (ie – 6” from roof to door threshold – 2” thickness of paver = 4” pedestal needed at doorway)
 Make a mark on the wall at this spot. This will determine the height of the rest of your patio.
 Using a laser level, take height measurements at every high and low point on the roof. This includes each drain, along the parapet walls and roof edges. If the roof has saddles or crickets, be sure to measure heights along these as well.
 If you have an architectural drawing, write out these measurements on the drawing at each location a measurement was taken. If you don’t have an architectural drawing, make a sketch that includes measurements of each edge of the patio in addition to the pedestal height measurements.
 Once the measurements are taken, send the drawing to info@skydeckusa.com. If you have a tapered roof insulation layout, send that along with the drawing for more accurate estimates.
How do pedestals work?
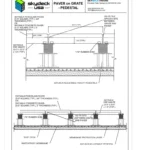
 Pedestals are used to elevate patio floor tiles off the roof to create a level patio surface.
 Pedestal heights will vary across the roof using shorter pedestals at higher areas of the roof. Pedestals will get incrementally taller as the roof slopes toward drains or roof edges.
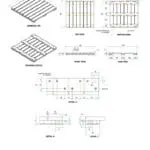
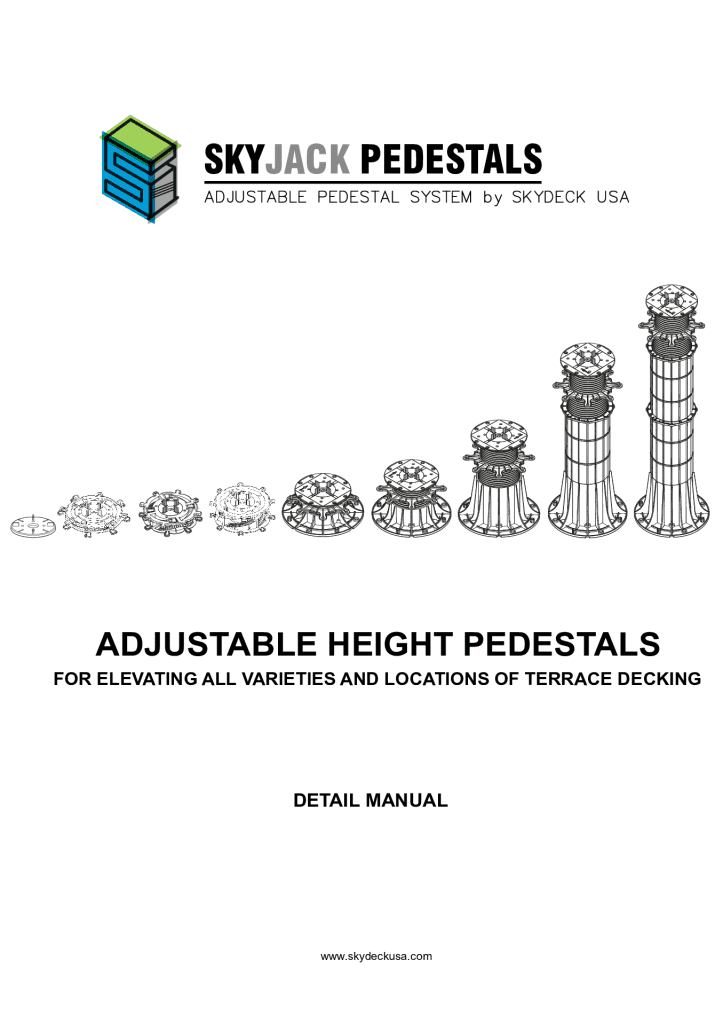
 There are two types of pedestals – adjustable and stackable. Stackable pedestals are used when very low height pedestals are required. They stack on one another to achieve various heights required across the roof and start at just 1/16” tall. Adjustable pedestals have a screw ring that allows the pedestal height to adjust by increments of just millimeters by twisting the screw ring. Adjustable pedestals can be used for heights from 3/8” and up.
 See “How do I know what height pedestals I need?” for more information on determining which products will work best for your project.
 Pedestals are placed on the corner of each floor tile. So, each pedestals has four tiles resting on it.
How do I install pedestals with pavers, Ipe deck tiles or porcelain tiles?
 First, organize your pedestals based on height.
 You will begin installing your first pavers on pedestals at the doorway that steps out onto the rooftop patio area.
 Take measurements to determine where to start the first paver so that you don’t end up with a small sliver of a paver at any of the patio edges. This may mean that you need to cut your first row of pavers shorter so that you have cut pavers along each patio edge.
 If you determine that you don’t need to cut your first paver, then place the first paver along the wall.
 Continue to place pavers parallel to the doorway wall using a laser level to ensure a level patio surface along the entire row. When you reach the patio edge, leave a gap where your final cut paver will be placed. Don’t begin to set cut pavers into place until several rows of pavers are in place, straight and level.
 Once you complete the first row that is parallel to the doorway wall, start the next row perpendicular to the doorway wall, creating a “T” shape with your pavers.
 Continue to lay pavers in rows out from your first two rows, leaving all edges open for cut pavers to be laid last.
  Be sure to use both a standard level and a laser level at each paver as you go. It's also helpful to use a 90 degree angle to ensure your rows remain straight.
 Once all of the center pavers are laid, begin cutting your pavers for the perimeter. Use a wet masonry table saw for best results.
I have very little height clearance under my door threshold. What options do I have for installing pedestals and pavers?
 Stackable .25" pedestals make it easy to work with nearly any threshold height. 1/16" thick rubber shims can be used in combination with .25" pedestals for easy height adjustment.
 Adjustable pedestals start at 3/8" tall.
I need tall pedestals. What options do I have in order to achieve heights of over 8.25”?
 SkyJack Pedestals can accommodate heights up to 38” using our SkyHeights Pedestal Reinforcement System.
 Pedestals over 21.75” require cross bracing. We also recommend self-leveling heads.
 Contact info@skydeckusa.com for more information on this system.

